Western Blotting Refresher Webinar
Western Blotting Refresher Webinar
Video Transcription
Hello, everyone. This is Will Olds. Thank you for attending this refresher course on western blotting. We're going to start here in a couple of moments while we let the rest of the people roll in here. I just want to note, while we're going through this, we have some handouts that are available. One is just about us in general, and the other one's just kind of our longer western blot guide, which has more detailed steps on how to do western blotting. We'll just wait a couple more moments here and then we'll get started.
As I said, this is a refresher course. I know a lot of you unfortunately had to be away from the lab for a little bit due to the ongoing pandemic, but I know that many of you are back in the lab and now you need to refresh yourself on what the heck western blotting even is. So this course is just going to be very short, about 30 minutes or so, just to kind of remind you about some tips and tricks for getting better western blots.
I'm the scientific officer here at Proteintech, and I am delighted to walk you through this.
Introduction to Proteintech
Okay, so for those of you who don't know too much about Proteintech, we have antibodies against 13,000 human targets that represents both rabbit polyclonal, mouse monoclonal, and rabbit recombinant antibodies. We have 200+ ELISA kits covering a wide array of cytokines, growth factors, and other recombinant proteins. We also sell a line of human cell-expressed cytokines and growth factors called HumanKine®. We also offer fluorescent-dye conjugated antibodies through our CoraLite® proprietary dye. We also offer some neutralizing antibodies against cytokines and growth factors, as well as some prestained protein markers that you definitely need for every western blot that you do.
All of our products are 100% manufactured and validated in-house. We recently received ISO 9001 and 13485 accreditation for GMP production. We have five sites globally with full product inventory, which means basically wherever you are in the world, we're able to get you an antibody the next day. Our products have been cited over 65,000 times with publications worldwide. We have GMP-grade products available, and we are big on supporting the scientific community with mentorship awards, travel grants, workshops like this, and more.

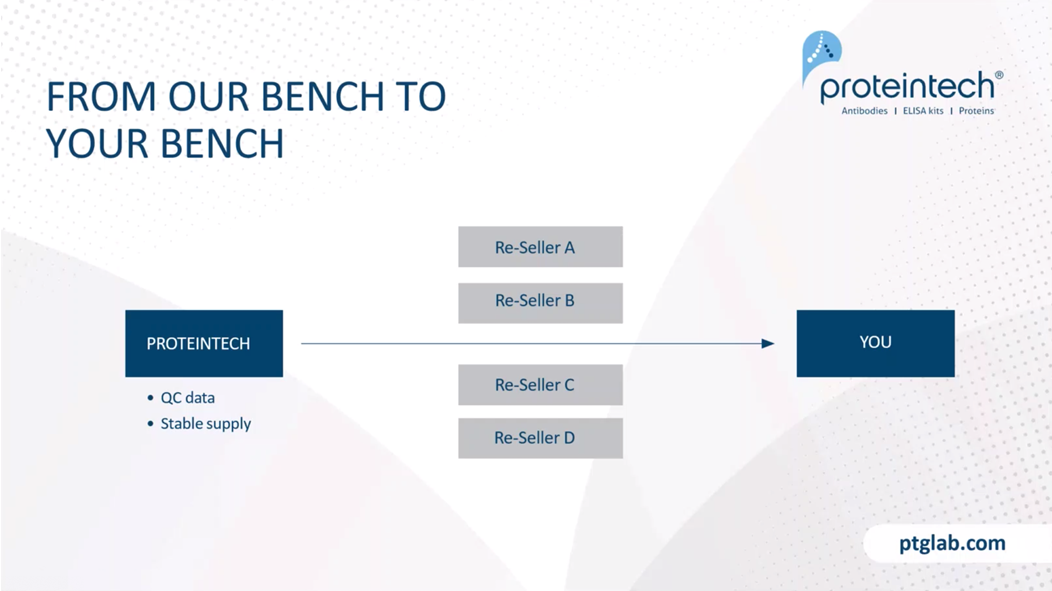
Our slogan of Proteintech is everything is from our bench to your bench. What that means is that everything that we make, we sell. So we don't sell to a reseller, we sell to you. We bypass all that and sell directly, taking it straight from our bench to your bench. What this means for you is that we're able to really have a greater emphasis on our quality control, as well as being able to provide a stable supply of products to you.
I also want to say that validation is our middle name here at Proteintech. We have a stringent validation process. We were the first company to launch siRNA knockdown validation in about 2015. In 2016, we won an award depicted on the right here of Most Exciting Antibody Validation Initiative by CiteAb. Because we were the first and we continue to work hard at this, we have the broadest coverage of antibody targets with specificity verified by knockdown and knockout validation. And because, again, we make everything, we're able to provide transcribed lab notebook pages in the form of our antibody-specific protocols.
Our goal is to help you have success. So we're really delighted to have allowed people to have many cover stories and journals, as well as being cited in over 65,000 journals and publications worldwide.
All right, so now to the meat and potatoes of the refresher course here. The goals of this course are to have a greater insight into the biochemistry of western blotting, understanding how modulating each step affects the results, and just have more tools in your mental toolbox for troubleshooting.
In terms of what we're going to go through here, I'm going to start with just kind of a refresher, "How do I do this thing again? I haven't picked up a pipette in three months. What is this?" And then how to banish background, making sense of extra bands, strengthening signal, dealing with small molecular weight proteins, doing some of their tweaks, as well as just sort of a quick summary at the end here.
1. How do I do this again?
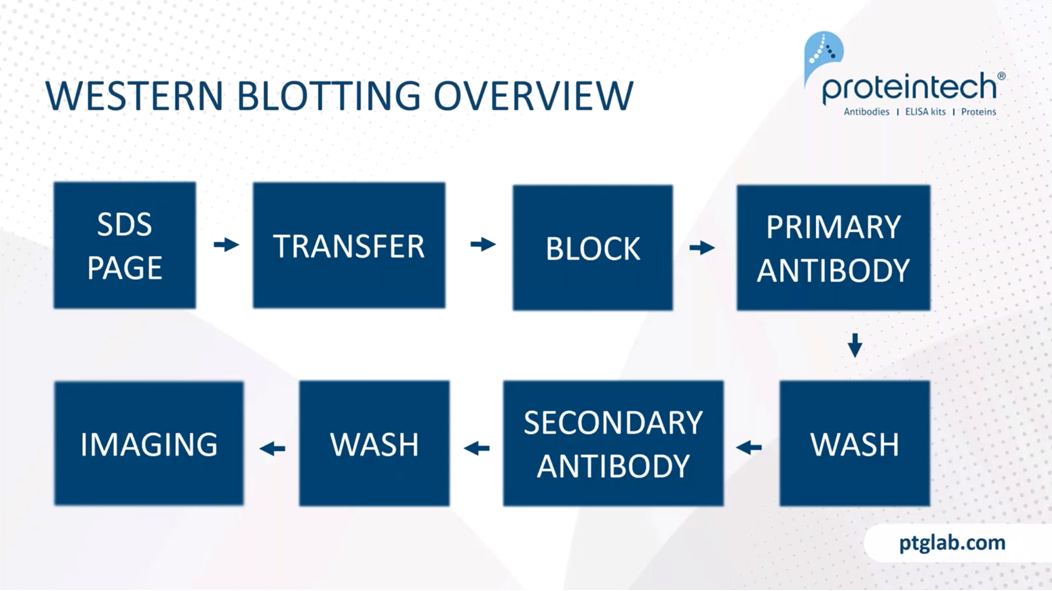
Just to remind you of what you're doing in western blotting. Again, more details for each of these steps is in one of the handouts on this webinar. You start out by resolving your proteins on SDS-PAGE gel. You transfer it from your gel to a membrane. You then block the membrane, and add your primary antibody, wash it off. Add a secondary, wash again, and then you image the final product.

2. Banishing background
What are the sources of high background? Unfortunately, it's really in a lot of different spots here. Really, all these different steps can add to background. But let me just kind of go through kind of what the biochemistry of non-specific binding looks like. Here's your protein that you're interested in, and you found a really great antibody that binds to this epitope over here, depicted by this antibody. And another one over here, depicted by this antibody here, and another one on the third.
Let's say that the Kd of this polyclonal antibody is about 10^-9 M. So this is kind of the average kD for an antibody. Let's say that there were some other proteins that are in the cell that looks like this, that are pretty similar, that have an epitope that kind of looks like these guys but has one amino acid difference. The Kd is much worse, 10^-4. So there is affinity, but it's pretty weak.
Now, let's look at the concentrations of these proteins. So for here, your favorite protein may have a very, very low abundance. So even lower than what the Kd is. And for here, these other proteins, they might be really, really high, so exaggerated here is 1 M. So what that means is that this antibody, despite being relatively specific for here, they actually bind to these proteins non-specifically. So this is kind of an issue that you may have to think about when you're designing your experiments in terms of how to mitigate this. I'll show some ways to do that later on here. So if you have lots of antibodies, it could obviously exacerbate the problem.
Sometimes I see a lot of blots that come to my desk looking like this, right? It just looks like it's stained every single protein on here like the ladder. So why does this happen? How could it be possible that anybody could even make an antibody that can find everything? Again, this has to do with biochemistry. On the Y-axis here is the percentage of bound protein, and on the X-axis is just the free and bound amount total protein. I also showed three curves here. This first curve is an antibody binding curve that's relatively high affinity. So you don't have to add too much protein because it's pretty high bound amount. In purple here, that's medium affinity. And then on this red one, very low affinity. Importantly, I have this linear curve that is non-specific binding. Non-specific binding is linear, as opposed to these S-curves that shoot upwards for antibodies.
As you can tell, if you add a very, very small amount of antibody, the non-specific binding is relatively high. So what you want to do is you want to add enough protein such that you're looking at here on the curve, or here on the curve, and so it's much higher than non-specific binding, and that your signal to noise ratio will be much stronger. And then you can see here for this low-affinity antibody, you're going to have to add a lot of protein before you're able to see the specific binding that's more energetically favorable than non-specific binding. What this means for your western blot experiments is that you need to experiment with how much protein you're loading and how much antibody you're adding to your membrane.

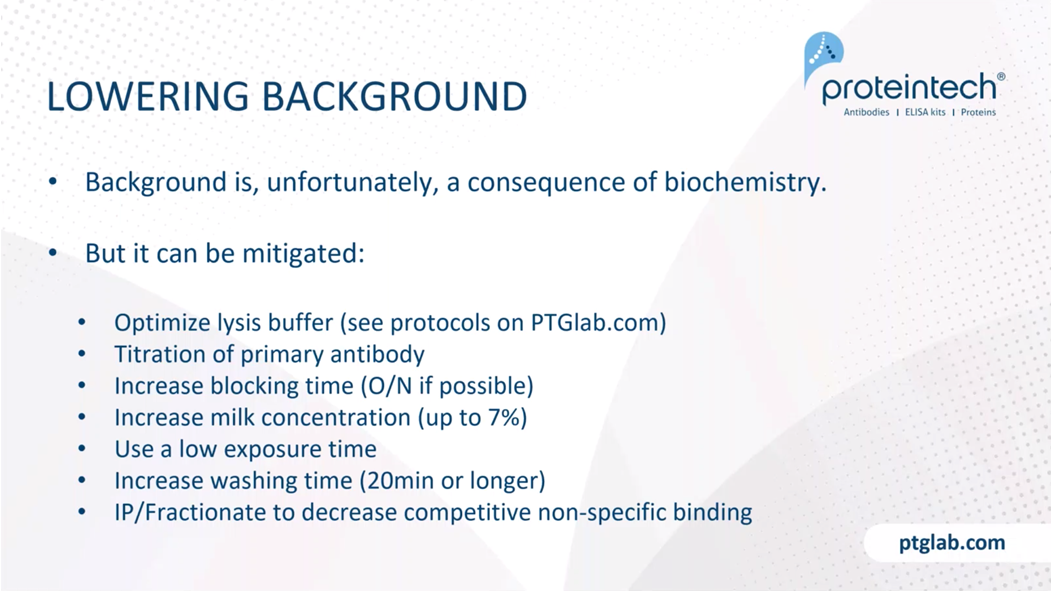
So as I've kind of described, background is, unfortunately, a consequence of biochemistry. These aren't magical robots that find your protein. These are chemicals, and so they are guided by the principles of biochemistry. But it can be mitigated. One of the major things is to optimize your lysis buffer. We have various protocols on how to do this on ptglab.com. And then also to titrate your primary antibody, as I mentioned, you can increase your blocking time. We recommend doing overnight blocking if it's at all possible. I know it's tough. Western blotting already takes about two days for most people. We also recommend if you're having a lot of trouble with background, to increase your nonfat milk concentration to about 7%. Again, you've probably already done this, but always use a low exposure time if you're getting a lot of background. That can usually help. Washing can also help using 20 minutes or longer, and kind of using fresh washing buffer each time. Something else to consider is if your protein is of low abundance, is to do an IP or fractionate into the different organelles to decrease competitive non-specific binding. In other words, get rid of the competition for binding for your antibody.
3. Making sense of extra bands
So we've already talked about how to do this again, how to banish background. Now we're going to talk about making sense of extra bands. On this western blot, you can see all these bands, you're like, "Why are there just so many bands here?" All right, so one explanation is described here. Let's say you have an antibody and it binds to all these different epitopes here, and you have this dastardly protease in here and it cleaves this protein here. Well, then if it's cleaved, this product could be represented that's bound by the blue and the yellow antibodies could be shown here. When it binds this smaller part, could be here.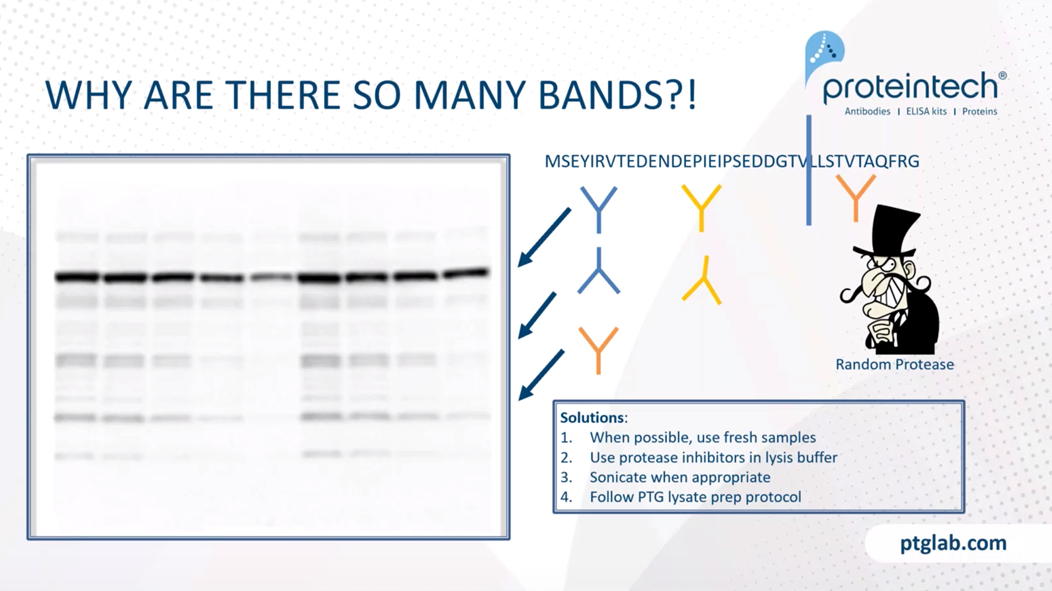
So proteases are always a problem. When possible, use fresh samples. We never recommend freezing your samples and then running it. It just increases the likelihood of proteolysis. We do recommend using protease inhibitors in lysis buffers, which you probably do. Sonicate when appropriate, but not too much because you can also cause fragmentation. And then again, just trying to follow our PTG lysate prep protocols will be used for every antibody that we show on the website.
Another possibility to think about is not just proteolytic fragments, bad stuff happening, but it could represent actual biology. It could represent post-translational modifications. It could represent alternative splicing or different isoforms of this protein that are expressed in different cell types. So for this, we recommend going to uniprot.org. This is kind of a cheat sheet that tells you everything about the biochemistry from where it lives in the cell, to the sequence, to the different PTMs that happen. So it's a really spectacular resource to help make sense of the blot you're looking at.
Other bands that you see are natural processing. A great example of this is insulin, which starts in a prepro form and gets cleaved into various different fragments. So if you have an antibody that can recognize a part that is conserved throughout all these forms, you will see multiple bands. In this case, it's not a bad thing. It's good. It means you can follow insulin throughout its life.
Again, just before doing your experiment, research your protein carefully. Go to Uniprot. If possible, it's not possible always, but look at the appropriate cellular context for your specific protein.
Okay, so that was all the stuff below. Let's talk about the stuff above. All of you guys are familiar with phosphorylation, dimerization, but also consider glycosylation. Again, Uniprot.org is a great resource for finding out this type of information to make sense of your results.
Glycosylation changes significantly how proteins travel through the gel. This figure is probably a little hard to kind of make out here, but here's a protein. It's about 50 kD. And then with these sugars here, it weighs about 60 kD if you were to put it on a molecular scale here. However, when you put it into a gel, remember the whole principle of western blotting is that the SDS turns the protein into a light linear string, and therefore, you can compare different proteins by their mass.
However, SDS doesn't react very well with glycosylation. What that means is that the protein starts to not to unwind quite as much and becomes thicker and does not travel nearly as quickly as it is expected to based upon its weight. So what that means is that because SDS does not interact with it and does not kind of do what is expected, 10 kilodaltons glycosylation may result in more than 10 kilodaltons up the gel. So, unfortunately, this is a protein by protein basis. So when possible, do try to check the literature on this protein. You can also add PNGase F to your samples to see if glycosylation is the reason for this discrepancy which is an enzyme that cleaves off many sugars.
4. Strengthening signal
Okay, so we made sense of extra bands. Now we're into how to strengthen your signal. Again, everything can kind of help influence your signal strength, but today I really want to focus on the membranes on the transfer itself. PVDF membrane is recommended almost always more than nitrocellulose. It's higher sensitivity than nitrocellulose. It has twice the binding capacity of nitrocellulose. It has hydrophobic and dipole interactions.
Let me just go on the right here. Right here where the cursor is over right now, this is nitrocellulose. This interacts with this in a both an electrostatic way as well as a hydrophobic method.
Now, kind of what the issue here is that the hydrostatic, the ones that are more kind of like an electrostatic, positive and negative interactions, are the types of interactions that antibodies like to have. So what that means is that you're almost competing with the membrane for your antibody. However, for the PVDF, it's mostly hydrophobic interactions here. What that means is that there are more epitopes that are available for your antibody to bind.
PVDF is also more durable than nitrocellulose. For most of the times, it doesn't make too big of a deal. However, if you're stripping the membrane and reblotting it, this is really great. This will last many more times of stripping and reprobing than nitrocellulose.
For low molecular weight proteins, we recommend using a special formulation of PVDF membranes called PSQ. This is a type of formulation made by Immobilon. These are for proteins that are 20, 25 kilodaltons or less.
5. Dealing with small molecular weight proteins
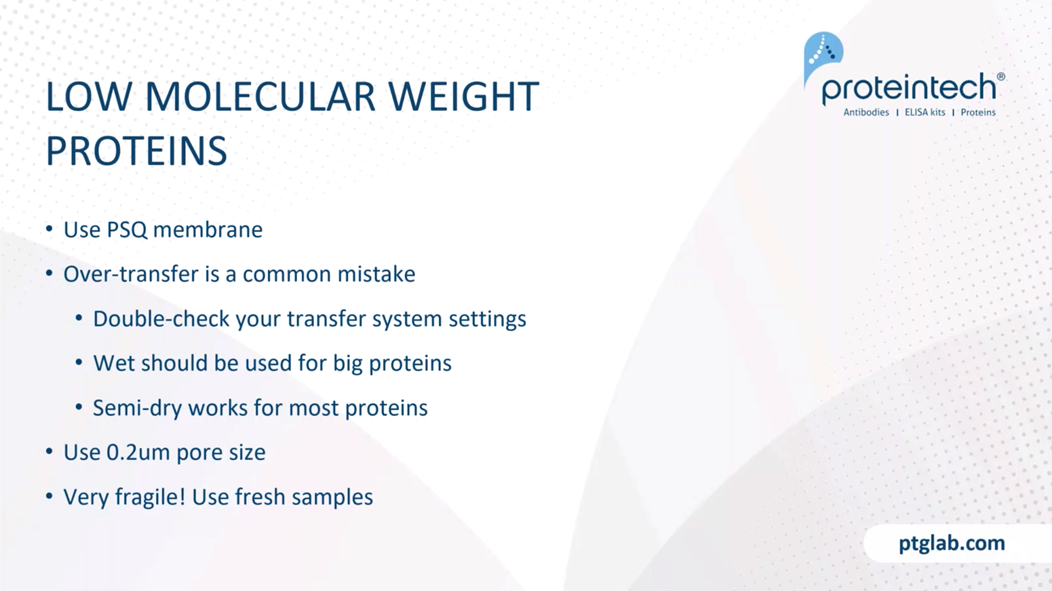
Low molecular weight proteins can be very tricky to work with. As I mentioned, we do recommend using a PSQ membrane. The most common mistake that I see when reviewing western blots is an over-transfer of low molecular weight proteins. Most proteins are kind of between the 30 and 50 kDa. However, if your protein is like six kilodaltons, 15 kilodaltons, it's very easy to fly through the membrane. So we recommend to double-check your transfer system settings. A lot of people use the iBlot system, and you should check the manual for how to do for that.
On the flip side for high molecular weight proteins, we do recommend a wet transfer. But semi-dry is kind of your workhorse that will work for most proteins.
Something else to kind of keep in mind is to try to use as small a pore size as possible. So we recommend a 0.2-micrometer pore size for low molecular weight proteins.
And as I mentioned, these are very fragile. Use fresh samples when possible.
6. Tweaking
Okay. Now we've dealt with the signal and small molecular weight proteins. Let's talk about some of the tweaking that you can do. I'm just going to focus on kind of the washing. Again, washing is kind of the forgotten part of western blotting, and can actually have quite a bit of importance to helping you get better signals. If you do a longer wash, you tend to have lower background. If you increase the volume, you can also have a bit of a lower background as well. As well as just using fresh washing buffer each time can help lower the background. Again, this won't be too much of an effect, but it is something to consider if you're just trying to get it just a little bit better for that publication.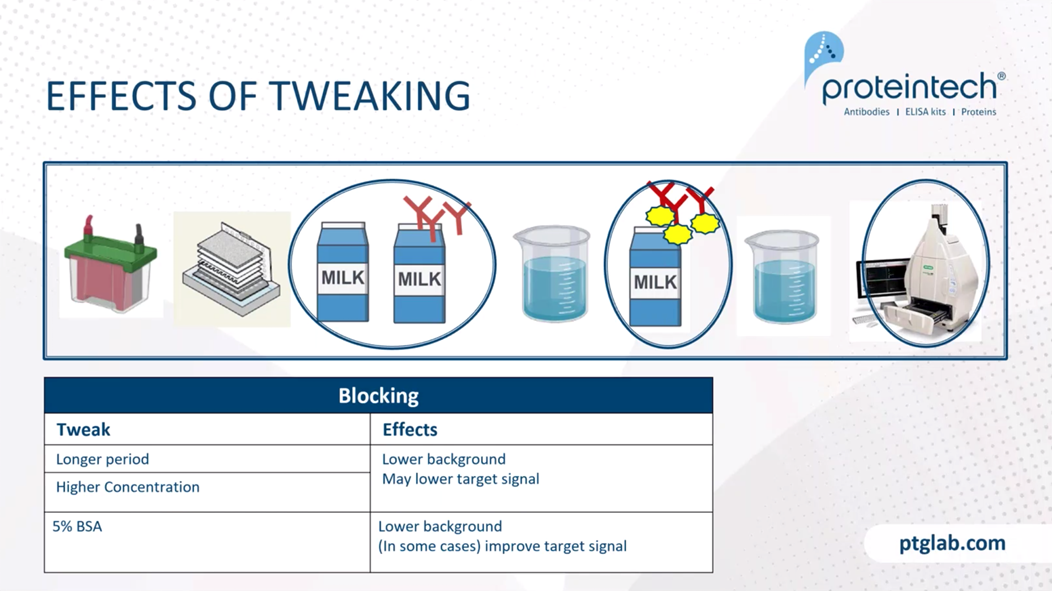
For milk, for blocking, this kind of has a bit of a bigger impact. Longer periods, such as I mentioned overnight, or a higher concentration of milk, as I said up to 7%, may also help. However, if you go a little bit too high, you may also lower your target signal. So keep that in mind as you're doing these experiments.
We recommend using milk for most of the time. However, 5% BSA can sometimes help for probing some proteins. Something to keep in mind is that this is recommended strongly if you're looking at a phospho-epitope. BSA tends to be a little bit better at blocking non-specific interactions and making sure that you aren't accidentally cleaving the PO4 off. So BSA is recommended for when you're looking at a phospho specific protein.
7. Summary
All right, so I yammered on for quite a while here. Here's a little summary table of what I had discussed, the main kind of tweaks and levers that you have.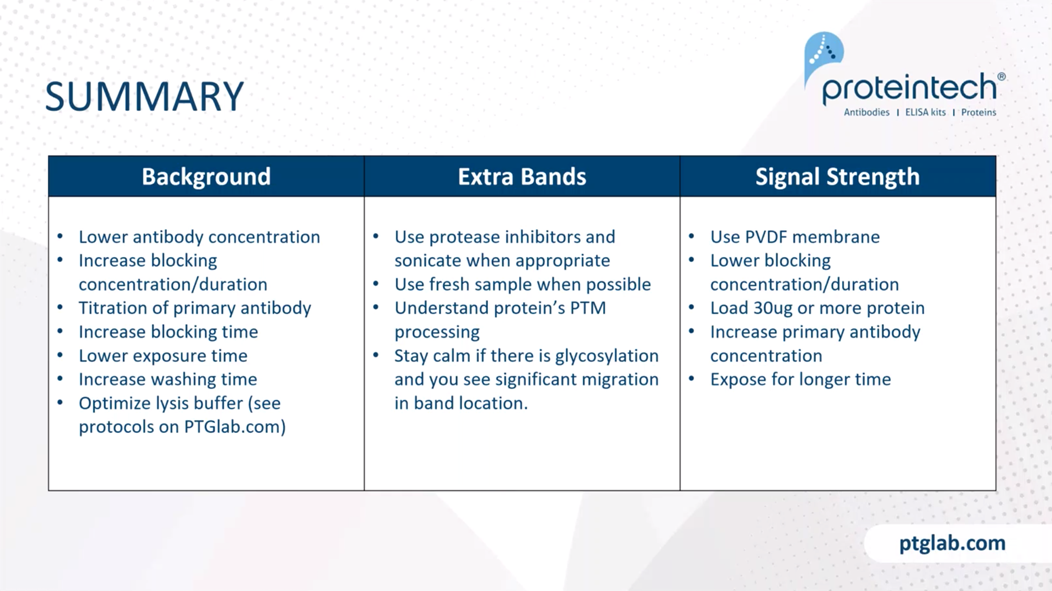
For background, we recommend lowering antibody concentration, increasing blocking concentration/duration, titrating your primary antibody, increase your blocking time, lower exposure time, increase your washing, and optimize your lysis buffer.
When looking for extra bands, use protease inhibitors and sonicate when appropriate, use fresh samples, and to really just understand the protein a little bit better. So understand the protein's post-translational modifications using Uniprot. Again, stay calm if you see glycosylation, you see significant migration in the band location from the raw molecular weight.
For signal strength issues, we recommend using a PVDF membrane, lowering your blocking concentration and duration in case that might help as well, loading 30 micrograms or more protein, increasing your primary antibody concentration, and exposing for a longer time.
So with that, I want to thank you for listening today. I know this was quick, but I hope that it kind of dusted off the cobwebs for you. At this time, I'll start taking some questions, so please use the question button on your console there. It looks like we have a couple already here.
Q&A
The first question that I see here is, "Can you share the direct link to the lysis protocol?" Yes, I will send that to you later. Thank you for mentioning that. I will add that to here, and then one of my colleagues may be able to add it to this presentation.
Another question is, "Do you characterize all your antibodies by epitope mapping? How can I know the actual amino acid sequence recognized by the antibody?" This is a really great question. For polyclonal antibodies, it's nearly impossible. There are going to be potentially thousands of different epitopes. And then for monoclonals, because we use large immunogens, a hundred amino acids or more, and we're looking for a single epitope, it's generally very hard.
So epitope mapping can be quite challenging. It's something that to do it right can take a couple of years. So it's really challenging to do exactly. However, when using one of our antibodies, you can look at the immunogen sequence and basically think of that as kind of where it's specific or where it should be binding.